Most tutorials about setting up an Express web server in Node also have you add a templating engine and countless middleware packages. In this post, I am going to show you how to create a server-rendered website using Express and, well, plain JavaScript!
#1 First Steps
This post picks up after First Time Node - #5 Configuring & Writing Tests. In the post before that, we had set up a Node project and configured npm to use Babel so we can write using the latest JS syntax. Then, in #5 we added and configured Mocha and wrote our first tests. This post will continue with that same project. You can find the code from that previous post at GitHub (if you download the code fresh from GitHub, be sure and also run npm install from inside the project folder to download the dependencies).
Step #2 Add Express
Express is a lightweight Node server library. It provides a very nice and unopinionated API for building a server. It now calls itself a "web application framework", and it can be, but for most projects you don't need all the extra stuff and all the middleware. We are just going to use it as a basic server. From your terminal and in your project folder, enter:
npm install express --save
Step #3 Create An Initial Server
Before editing any code, enter npm run watch from your terminal so Babel will automatically transpile your code as you save it. Now, open up src/main.js. Remove what we had previously written and add the following:
// src/main.js

import express from 'express';  // import the express library

const app = express();  // create the server

app.use(express.static('public'));  // tell our server to expose the public folder

const port = 3000;

const server = app.listen(port, () => {  // start the server
  console.log(`App listening at port ${server.address().port}`);
});
Since we have exposed a folder called public, go ahead and create a folder named public in the root of your project folder. Anything in this folder will be directly exposed by the web server. Inside the public folder, create a js, a css, and an images folder. Now, if you had a static website/webapp all done and you just wanted to drop it in a server, you could just put that directly in the public folder and have it served as is. For example purposes, go ahead and in the public folder create a file called index.html and add the following:
<!DOCTYPE html>
<html>
<head>
  <meta charset="utf-8">
  <title>My Static Website</title>
</head>
<body>
  <h1>Hi! This is my static website!</h1>
</body>
</html>
Run npm start and check out 'localhost:3000' in your browser. It should look something like this:
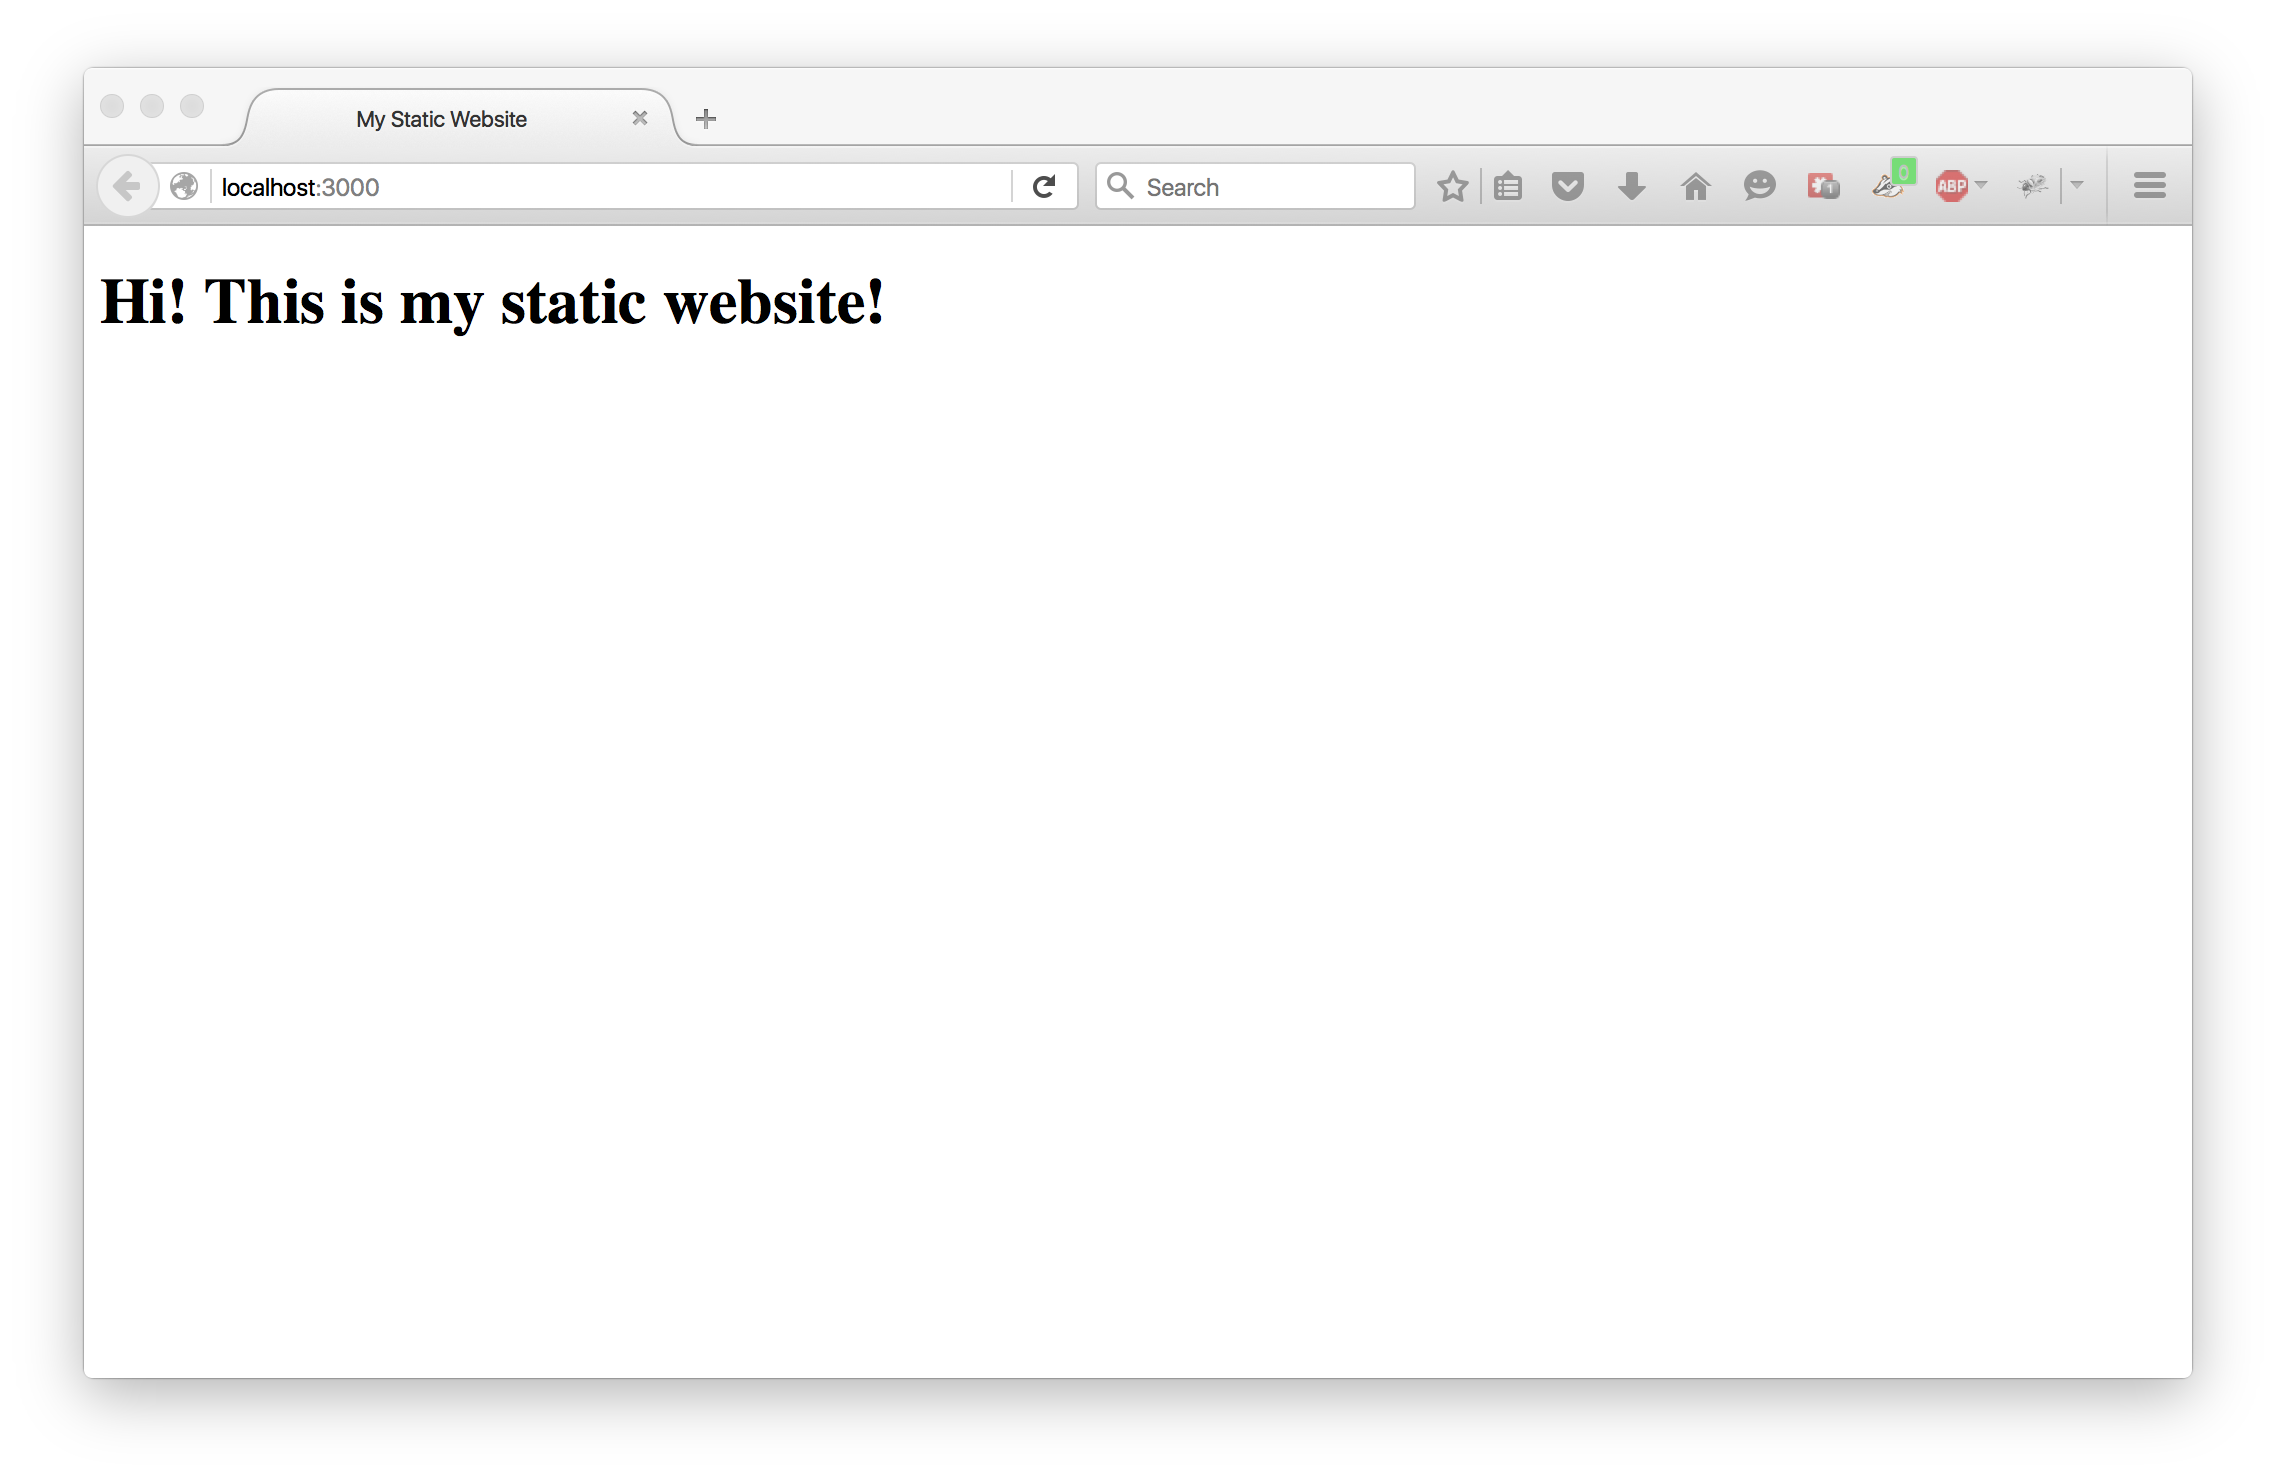
Congratulations! You now have a working Node web server! But, most people don't want to build their websites as static HTML pages. So, let's add our first Express routes.
Step #4 Create Express Routes
Go ahead and delete the index.html file which we made in the last step. We will not be using that for the real app. Now, open up src/main.js and add a root route and an about route.
// src/main.js

import express from 'express';

const app = express();

app.get('/', (req, res) => {  // handle a GET request to '/'

    res.send('You are at home!');  // respond with a string

}).get('/about', (req, res) => {  // handle a GET request to '/about'

    res.send('You are at about!');  // respond with a string

}).use(express.static('public'));

const port = 3000;

const server = app.listen(port, () => {
    console.log(`App listening at port ${server.address().port}`);
});
Now, restart your server and check out 'localhost:3000' to see what you get. When you visit your two routes, you should see the following:
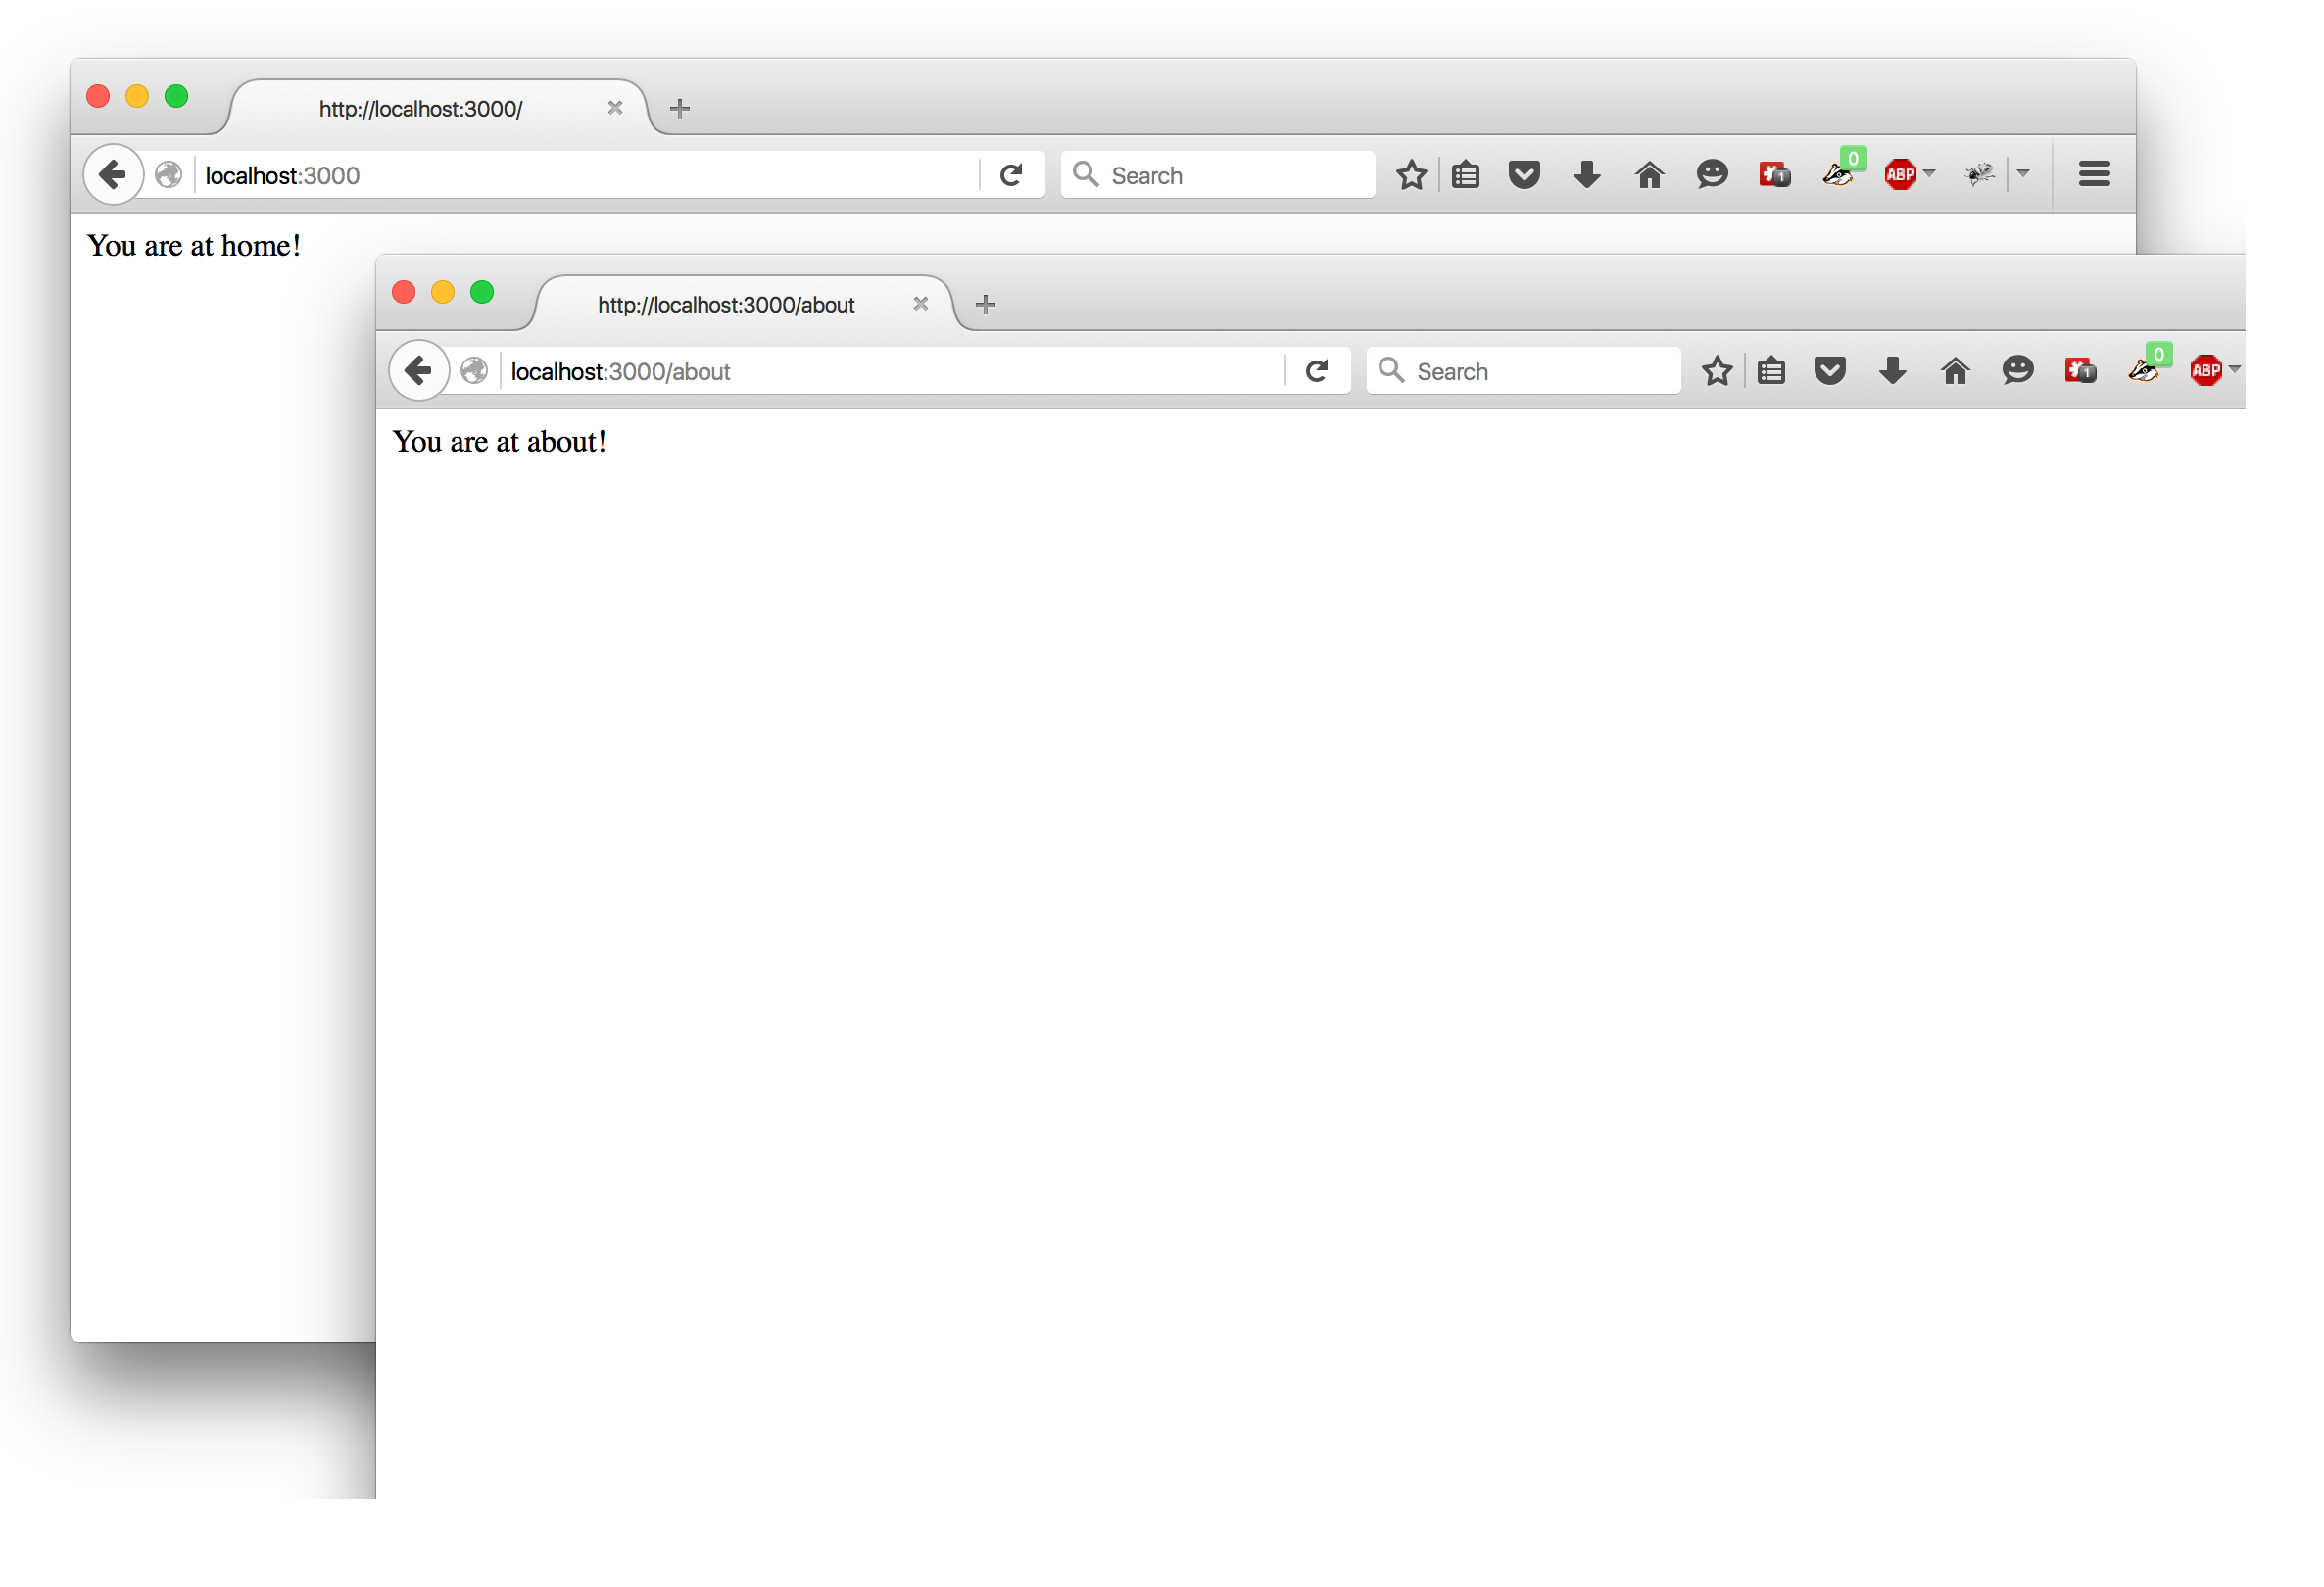
As you can see, we are making progress. But we need to send full html pages, not just short strings. So, let's build some components.
Step #5 Build Functional View Components
Functions are great, but pure functions are even better. A pure function is one with no side-effects. It simply takes in values and spits out values. A pure function is predictable and testable, because if you put in the same input, you will always get the same result. Functional view components are coming into vogue for those same reasons. For this post, we will be creating functions (mostly-pure) which do a little work and return HTML strings which we can return to our clients.
We are going to be doing this using pure JavaScript. There are templating libraries out there like Handlebars which can be plugged into Express, but, as I said earlier, you often do not need another whole library. The upsides of using a comprehensive templating library are that they often have nifty helper utilities for doing things like iterating over lists and you can find localization plugins for them. But the downsides are that you need to learn their specific syntax, you need to add more code to hook them up, and they often have conventions which you need to learn. If you are working on a moderate-sized project and do not need localization support, I would always rather just use my own conventions and write view components using plain HTML. And doing things like iterating over lists is really easy with plain JavaScript.
There is an alternative to traditional templating engines called React which I will cover in the next post. React allows you to create functional views using JSX syntax. But before getting into React, I want to show you how to do this yourself without any library.
So, go ahead and create a folder called components within your src folder. As you can probably imagine, this folder will hold all of our components. Create a file in this folder called layout.js. This component will hold our main HTML code.
// src/components/layout.js

const layout = (props = {}) => {

  return `
    <!DOCTYPE html>
    <html>
    <head>
      <meta charset="utf-8">
      <title>${props.title}</title>
      <meta http-equiv="X-UA-Compatible" content="IE=edge">
      <meta name="viewport" content="width=device-width, initial-scale=1">
      <!--link rel="shortcut icon" href="images/favicon.ico"-->
      <link rel="stylesheet" href="https://maxcdn.bootstrapcdn.com/bootstrap/3.3.6/css/bootstrap.min.css">
      <link rel="stylesheet" href="/css/main.css">
    </head>
    <body>

      <div class="content-container">
        <h1>My Static Website</h1>
      </div>

      <script type="text/javascript" src="https://code.jquery.com/jquery-2.2.0.min.js"></script>
      <script type="text/javascript" src="https://maxcdn.bootstrapcdn.com/bootstrap/3.3.6/js/bootstrap.min.js"></script>
      <script type="text/javascript" src="/js/main.js"></script>

    </body>
    </html>
  `;
};

export default layout;
So, what we made here was a stateless arrow function called layout which returns a template string. Template strings are great because they allow you to easily make multi-line strings and allow you to insert values into them using interpolation rather than concatenation (I have a blog post on string interpolation here). You can see that our layout function takes one parameter which we call props and give it a default value of {}. I grab a property called title from props and insert it into the page's <title></title> tags using ${props.title}.
Also, notice that we linked to a main.css and a main.js file. Go to your public/js folder and create an empty file called main.js. Also, go to public/css and create a file called main.css which contains the following:
/*****************************
 * Body Styles
 *****************************/
body {
  font-family: sans-serif;
}

/*****************************
 * Content container styles
 *****************************/
.content-container {
  padding: 20px;
}

/*****************************
 * Header container styles
 *****************************/
.header-container .title-container {
  padding-top: 50px;
  padding-bottom: 50px;
}
.header-container .title-container .title {
  text-align: center;
}

.header-container .custom-nav-container {
  display: flex;
  flex-direction: row;
  flex-wrap: nowrap;
  justify-content: flex-start;
}
.header-container .custom-nav-container .nav-item-container {
  flex-basis: 1;
  flex-grow: 1;
}
.header-container .custom-nav-container .nav-item-container a:hover {
  text-decoration: none;
}
.header-container .custom-nav-container .nav-item-container .nav-item {
  background-color: #DDD;
  padding-top: 10px;
  padding-bottom: 10px;
  font-size: 16px;
  text-align: center;
}
.header-container .custom-nav-container .nav-item-container .nav-item.active {
  background-color: #BBB;
}
.header-container .custom-nav-container .nav-item-container .nav-item:hover {
  background-color: #AAA;
}
Now, let's open src/main.js and import in and use the layout component.
// src/main.js

import express from 'express';

import layout from './components/layout';  // import the layout component

const app = express();

app.get('/', (req, res) => {  // handle a GET request to '/'

    res.send(layout({  // call our layout view function, passing in the page's title
        title: 'First Time Node Server - Home'
    }));

}).get('/about', (req, res) => {  // handle a GET request to '/about'

    res.send(layout({  // call our layout view function, passing in the page's title
        title: 'First Time Node Server - About'
    }));

}).use(express.static('public'));

const port = 3000;

const server = app.listen(port, () => {
    console.log(`App listening at port ${server.address().port}`);
});
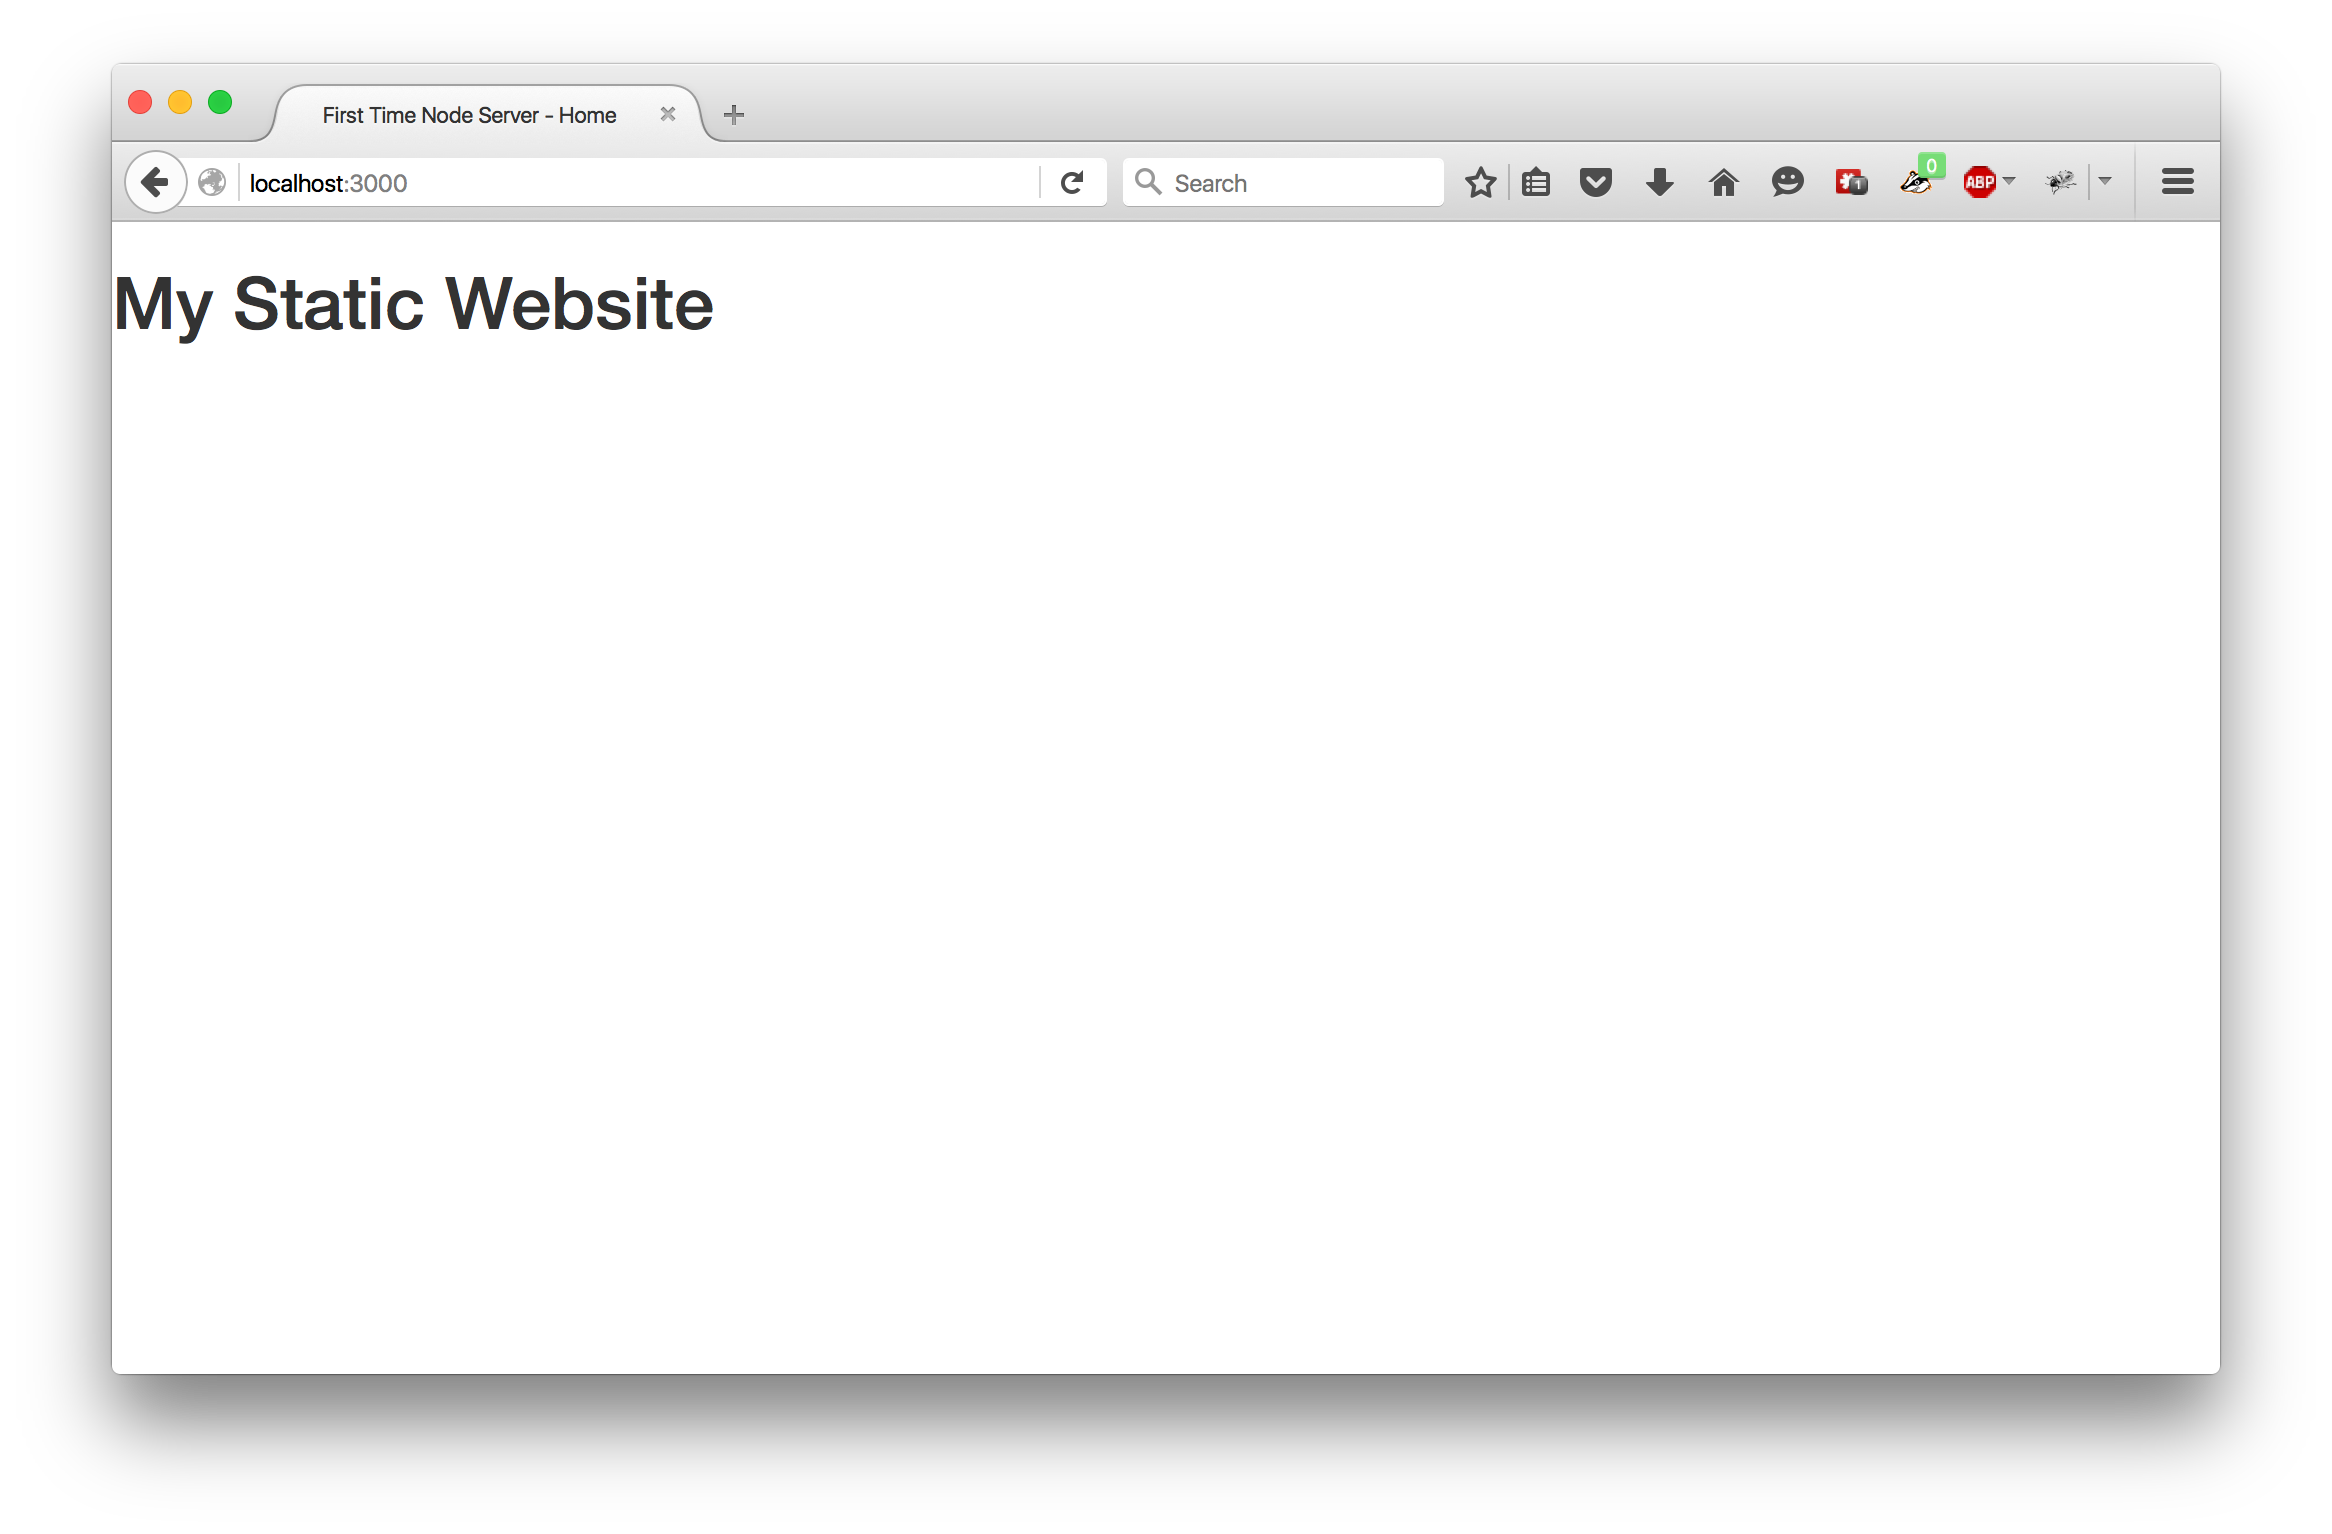
Restart your server and check out the results!
Let's now create a header component which we will insert into the layout component. In our components folder, make three new folders: home, about, and shared. The home and about folders will correspond to the '/' and '/about' routes and contain their components. The shared folder will be for any components shared across them all.
Now, create a file named header.js in the shared folder and add the following:
// src/components/shared/header.js

const header = (props = {}) => {

  return `
    <div class="header-container">
      <div class="title-container">
        <h1 class="title">My Static Website</h1>
      </div>
      <div class="custom-nav-container">
        <div class="nav-item-container">
          <a href="/" title="Home">
            <div class="nav-item ${(props.activePage === 'home') ? 'active' : ''}">Home</div>
          </a>
        </div>
        <div class="nav-item-container">
          <a href="/about" title="About">
            <div class="nav-item ${(props.activePage === 'about') ? 'active' : ''}">About</div>
          </a>
        </div>
      </div>
    </div>
  `;
};

export default header;
So, this function also takes an object which we call props and expects it to have a property called activePage in it. Then I use ternary operators to check which link is active and add the active class to the link of the active page. Let's go back to src/components/layout.js and add the header.
// src/components/layout.js

import header from './shared/header';

const layout = (props = {}) => {

  return `
    <!DOCTYPE html>
    <html>
    <head>
      <meta charset="utf-8">
      <title>${props.title}</title>
      <meta http-equiv="X-UA-Compatible" content="IE=edge">
      <meta name="viewport" content="width=device-width, initial-scale=1">
      <!--link rel="shortcut icon" href="images/favicon.ico"-->
      <link rel="stylesheet" href="https://maxcdn.bootstrapcdn.com/bootstrap/3.3.6/css/bootstrap.min.css">
      <link rel="stylesheet" href="/css/main.css">
    </head>
    <body>

      ${header({
        activePage: props.activePage
      })}

      <div class="content-container">
        <h1>My Static Website</h1>
      </div>

      <script type="text/javascript" src="https://code.jquery.com/jquery-2.2.0.min.js"></script>
      <script type="text/javascript" src="https://maxcdn.bootstrapcdn.com/bootstrap/3.3.6/js/bootstrap.min.js"></script>
      <script type="text/javascript" src="/js/main.js"></script>

    </body>
    </html>
  `;
};

export default layout;
You can see that I added import header from './shared/header' to bring in the header component. Then I called it with ${header({activePage: props.activePage})}. But, before we can see this in action, we need to go back to src/main.html and add an activePage string when we call our layout component function.
// src/main.js
...
app.get('/', (req, res) => {

    res.send(layout({
        title: 'First Time Node Server - Home',
        activePage: 'home'  // activePage is 'home'
    }));

}).get('/about', (req, res) => {

    res.send(layout({
        title: 'First Time Node Server - About'
        activePage: 'about'  // activePage is 'about'
    }));

}).use(express.static('public'));
...
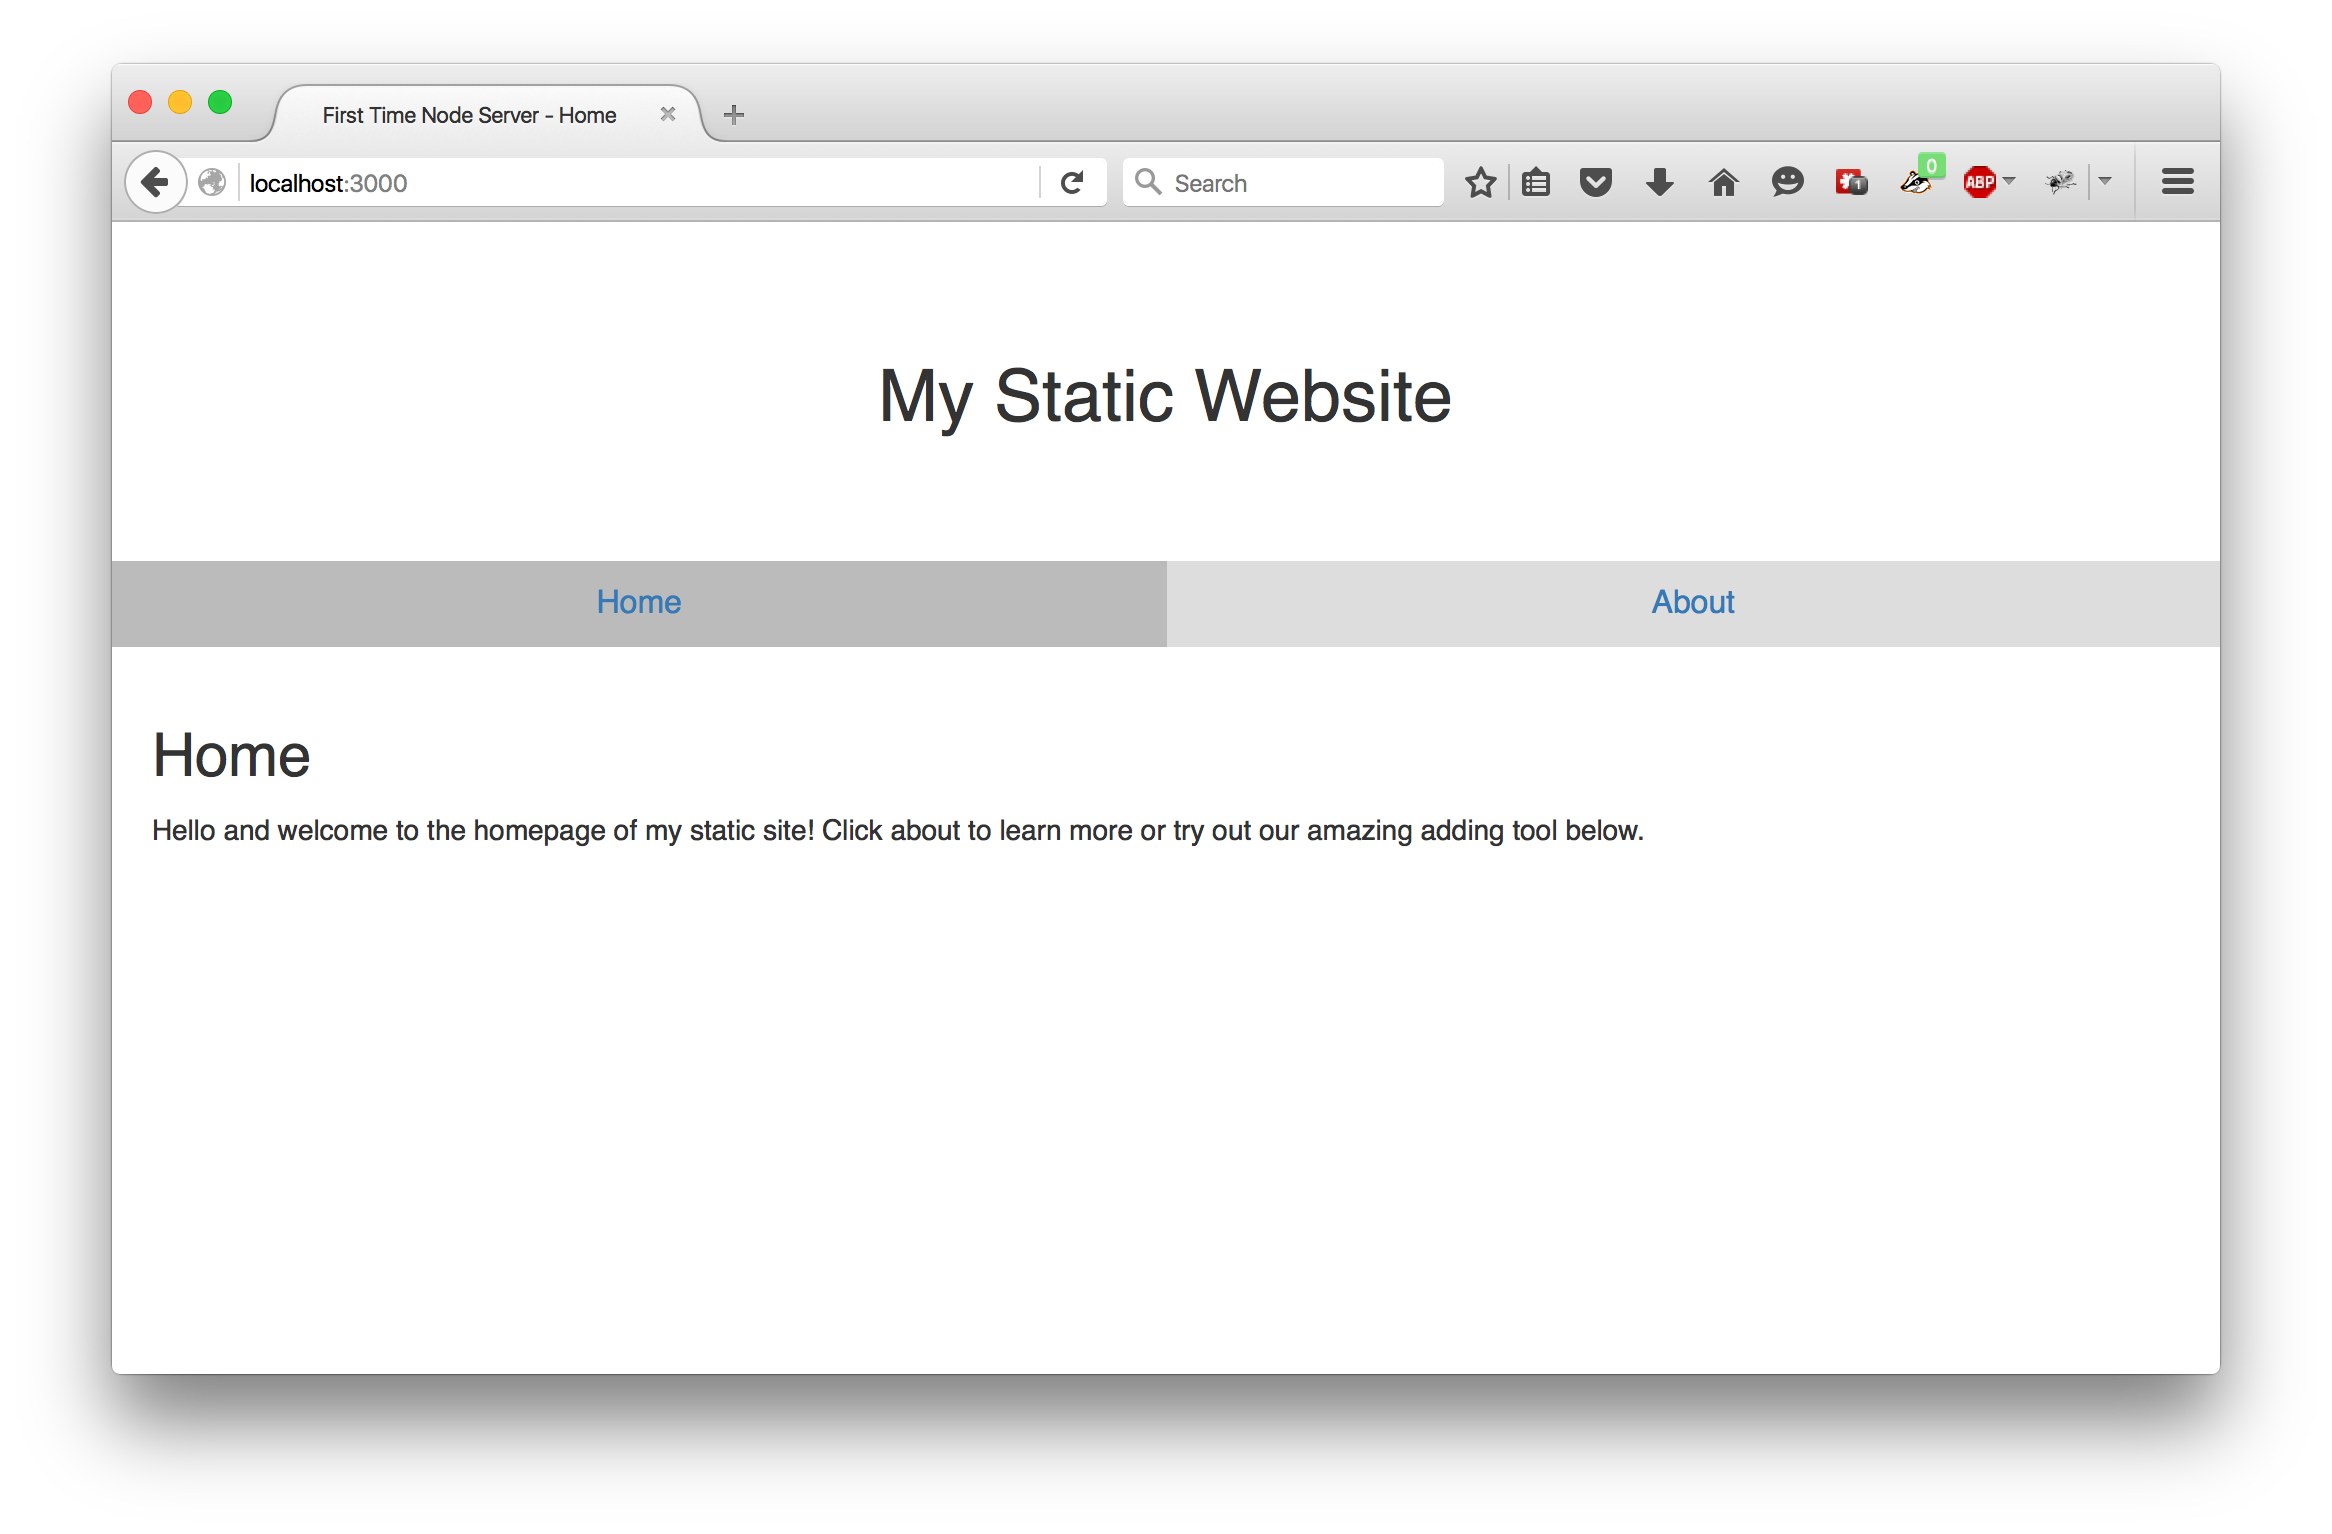
Now, restart the server to see the results.

We now have a header with a title and a navbar. You can click on the links to move between the two routes we have and you will notice how the active link changes. All is going well! But now we need to add some body content to our home and about pages.
Create a file in src/components/home called home.js and add the following:
const home = (props = {}) => {  // we will use the props later
  return `
    <div class="home-container">
      <h2>Home</h2>
      <p>Hello and welcome to the homepage of my static site! Click about to learn more or try out our amazing adding tool below.</p>
    </div>
  `;
};

export default home;
Next, create a file in src/components/about called about.js and add the following:
const about = () => {
  return `
    <div>
      <h2>About</h2>
      <p>This is an amazing static website which allows you to add two numbers together.</p>
    </div>
  `;
};

export default about;
Now, let's create a spot for these in src/components/layout.js. In the file, you will see a <div> in the body of the document with a class of content-container. Change it as follows to insert a value called content from props.
<div class="content-container">
  ${props.content ? props.content : ''}
</div>
Finally, we need to add our home and about components to src/main.js.
import express from 'express';

import layout from './components/layout';
import home from './components/home/home';  // import the 'home' component
import about from './components/about/about';  // import the 'about' component

const app = express();

app.get('/', (req, res) => {

  res.send(layout({
    title: 'First Time Node Server - Home',
    activePage: 'home',
    content: home()  // call the home function and pass the returned string into the layout
  }));

}).get('/about', (req, res) => {

  res.send(layout({
    title: 'First Time Node Server - About',
    activePage: 'about',
    content: about()  // call the about function and pass the returned string into the layout
  }));

}).use(express.static('public'));

const port = 3000;

const server = app.listen(port, () => {
    console.log(`App listening at port ${server.address().port}`);
});
Restart your server and load the page to see the results.
Great! We now have a working server-rendered website. We could add as many new routes and pages as we want! But, using query parameters I would like to add a little functionality to this site. In many cases these days you would do processing like this on the front-end, but for the sake of this post I am going to show you how to do it on the back-end.
We are going to add a little form to our home component HTML which will take two numbers as inputs, then, on submit, will add those to the URL as 'num1' and 'num2'. The server will then return the same page, but with the sum. We will use the adder module from our previous post. Our adder module was in the src/modules folder last time, but let's rename the modules folder to util. This can contain any utility modules we make. In this case, the only utility module we have is adder.
Babel watch might not register the folder change. So, go to your terminal where babel watch is running and stop the process (ctrl+c). Then enter npm run build to run a new full build. Then enter npm run watch and you can get back to your coding.
Open up src/main.js and right below where we import express, add the following line:
import adder from './util/adder';
Now, update the home route to 1) check for query parameters named num1 and num2, 2) if found, use our adder module to get the sum, and 3) pass num1, num2, and sum into the home component.
...
app.get('/', (req, res) => {

  const num1 = req.query.num1 || '';  // if a num1 query param, pass into num1, else ''
  const num2 = req.query.num2 || '';  // if a num2 query param, pass into num2, else ''

  // if a num1 and num2 value are present,
  const sum = (num1 && num2) ? adder(parseInt(num1), parseInt(num2)): '';

  res.send(layout({
    title: 'First Time Node Server - Home',
    activePage: 'home',
    content: home({
      num1: num1,
      num2: num2,
      sum: (sum || sum === 0) ? sum : ''
    })
  }));

}).get('/about', (req, res) => {

  res.send(layout({
    title: 'First Time Node Server - About',
    activePage: 'about',
    content: about()
  }));

}).use(express.static('public'));
...
We are almost done. Let's now add the HTML form to src/components/home/home.js.
const home = (props = {}) => {
  return `
    <div class="home-container">
      <h2>Home</h2>
      <p>Hello and welcome to the homepage of my static site! Click about to learn more or try out our amazing adding tool below.</p>

      <h4>Want to add two numbers together?</h4>
      <form class="form-inline">
        <div class="form-group">
          <input id="js-numInput1" class="form-control input-lg text-center" type="number" value="${props.num1}" required></input>
        </div>
        <div class="form-group">
          <label>+</label>
          <input id="js-numInput2" class="form-control input-lg text-center" type="number" value="${props.num2}" required></input>
        </div>
        <div class="form-group">
          <label>=</label>
          <input id="js-sumBox" class="form-control input-lg text-center" type="text" value="${props.sum}" required readonly></input>
        </div>
        <div class="form-group">
          <button type="submit" class="btn btn-primary btn-lg">Show me the sum!</button>
        </div>
      </form>

    </div>
  `;
};

export default home;
Finally, we need to add a little functionality to our front-end. Open up our previously empty file, public/js/main.js. We are going to use a little jQuery to do this. There are a number of ways to handle form inputs, but for this post I just decided to do it this way. Add the following:
/* global $ */

$(document).ready(function() {

  var $numInput1 = $('#js-numInput1');
  var $numInput2 = $('#js-numInput2');

  var num1 = $numInput1.val() || 0;
  var num2 = $numInput2.val() || 0;

  var newURI = '';

  $numInput1.on('change', function(e) {
    e.preventDefault();
    num1 = e.target.value || 0;
    newURI = '/?num1=' + num1 + '&num2=' + num2;
  });

  $numInput2.on('change', function(e) {
    e.preventDefault();
    num2 = e.target.value || 0;
    newURI = '/?num1=' + num1 + '&num2=' + num2;
  });

  $('form').submit(function(e) {
    e.preventDefault();

    window.location.href = newURI;
  });

});
So, any time the number inputs change, their values will be stored as variables. Then, when the form is submitted, the browser will navigate to the new address which includes the numbers as query parameters.
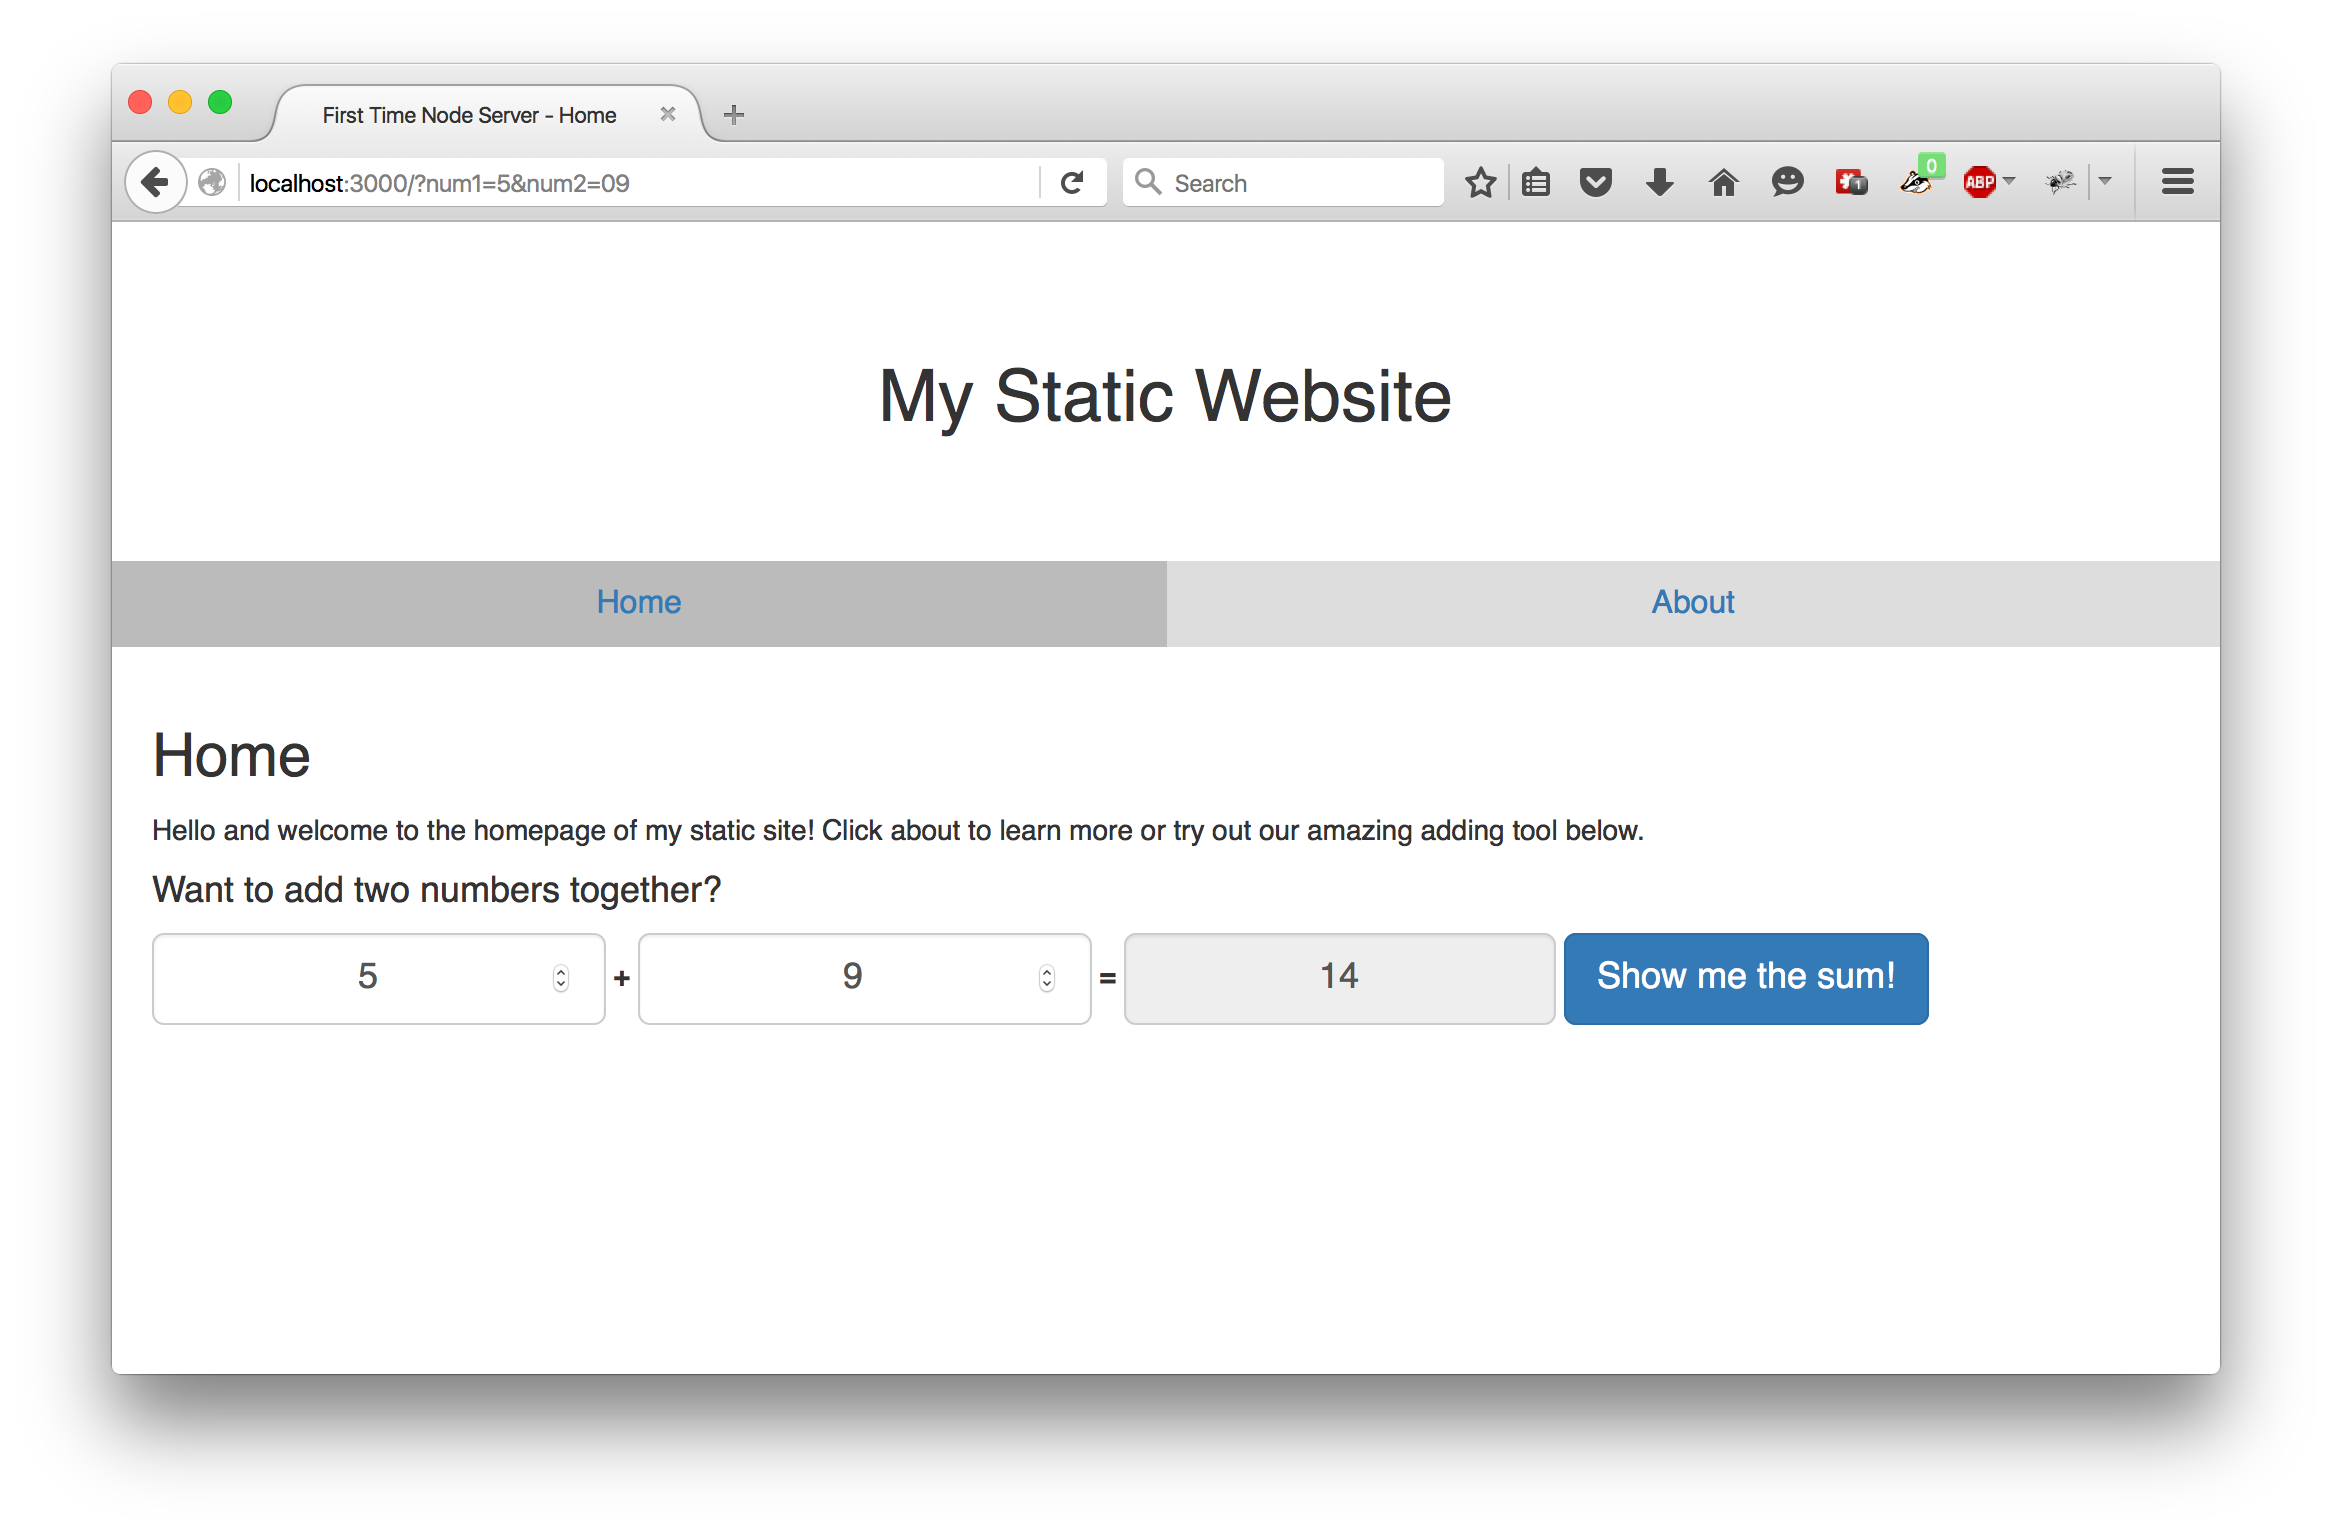
You now have a full website which includes a little adding utility! Woohoo! I should get an award or something for this...
Conclusion
I hope can see how relatively simple it can be to create a server-rendered website using Node, Express, and pure JavaScript. This setup is flexible enough to handle many use-cases for small to moderate-sized websites. BUT, there is a better way. In the next post, I will introduce you to React!
You can find the full code for this project on GitHub.
This is part six of an ongoing series:
- First Time Node - #1 Getting Started
- First Time Node - #2 Packages
- First Time Node - #3 Setting Up Your Development Environment
- First Time Node - #4 Configuring Your Build Process for ES2015/2016
- First Time Node - #5 Configuring & Writing Tests
- First Time Node - #6 Express Server With Functional Views