These days, it is amzingly easy to get a web application up and running. Create-react-app allows you hit the ground running with building front-end applications which then can be served and fed data from a back-end API. But, while creat-react-app takes care of the dev server, dependency handling, and bundling, it does not include a styling framework. That's where Bootstrap comes in.
Bootstrap
I have written in the past about why I like Bootstrap. I will not go into all the details now, but one of the biggest benefits of using a styling framework like Bootstrap is that it provides a standard styling API for all of your components. If you build your entire application using a standard styling API, then if you want to make changes in the future it is quite easy since you only have to change the styling in one place. But, in order to customize styling, you need to have the Bootstrap source code. How you would implement that into a create-react-app project is the purpose of this blog post.
Create Your Application
The first thing you need to do (assuming you already have Node.js and NPM installed) is install create-react-app globally. To do this, enter the following from your command line:
$ npm install -g create-react-app
Once that is installed, you can create your application. I am going to make one called react-bootstrap-example. To do that, enter the following:
$ create-react-app react-bootstrap-example
Now your app is created and ready to go! Go into the newly created react-bootstrap-example folder and enter the following to start your application:
$ npm start
This will start the initial application and open it in your web browser. At http://localhost:3000 you will see the following:
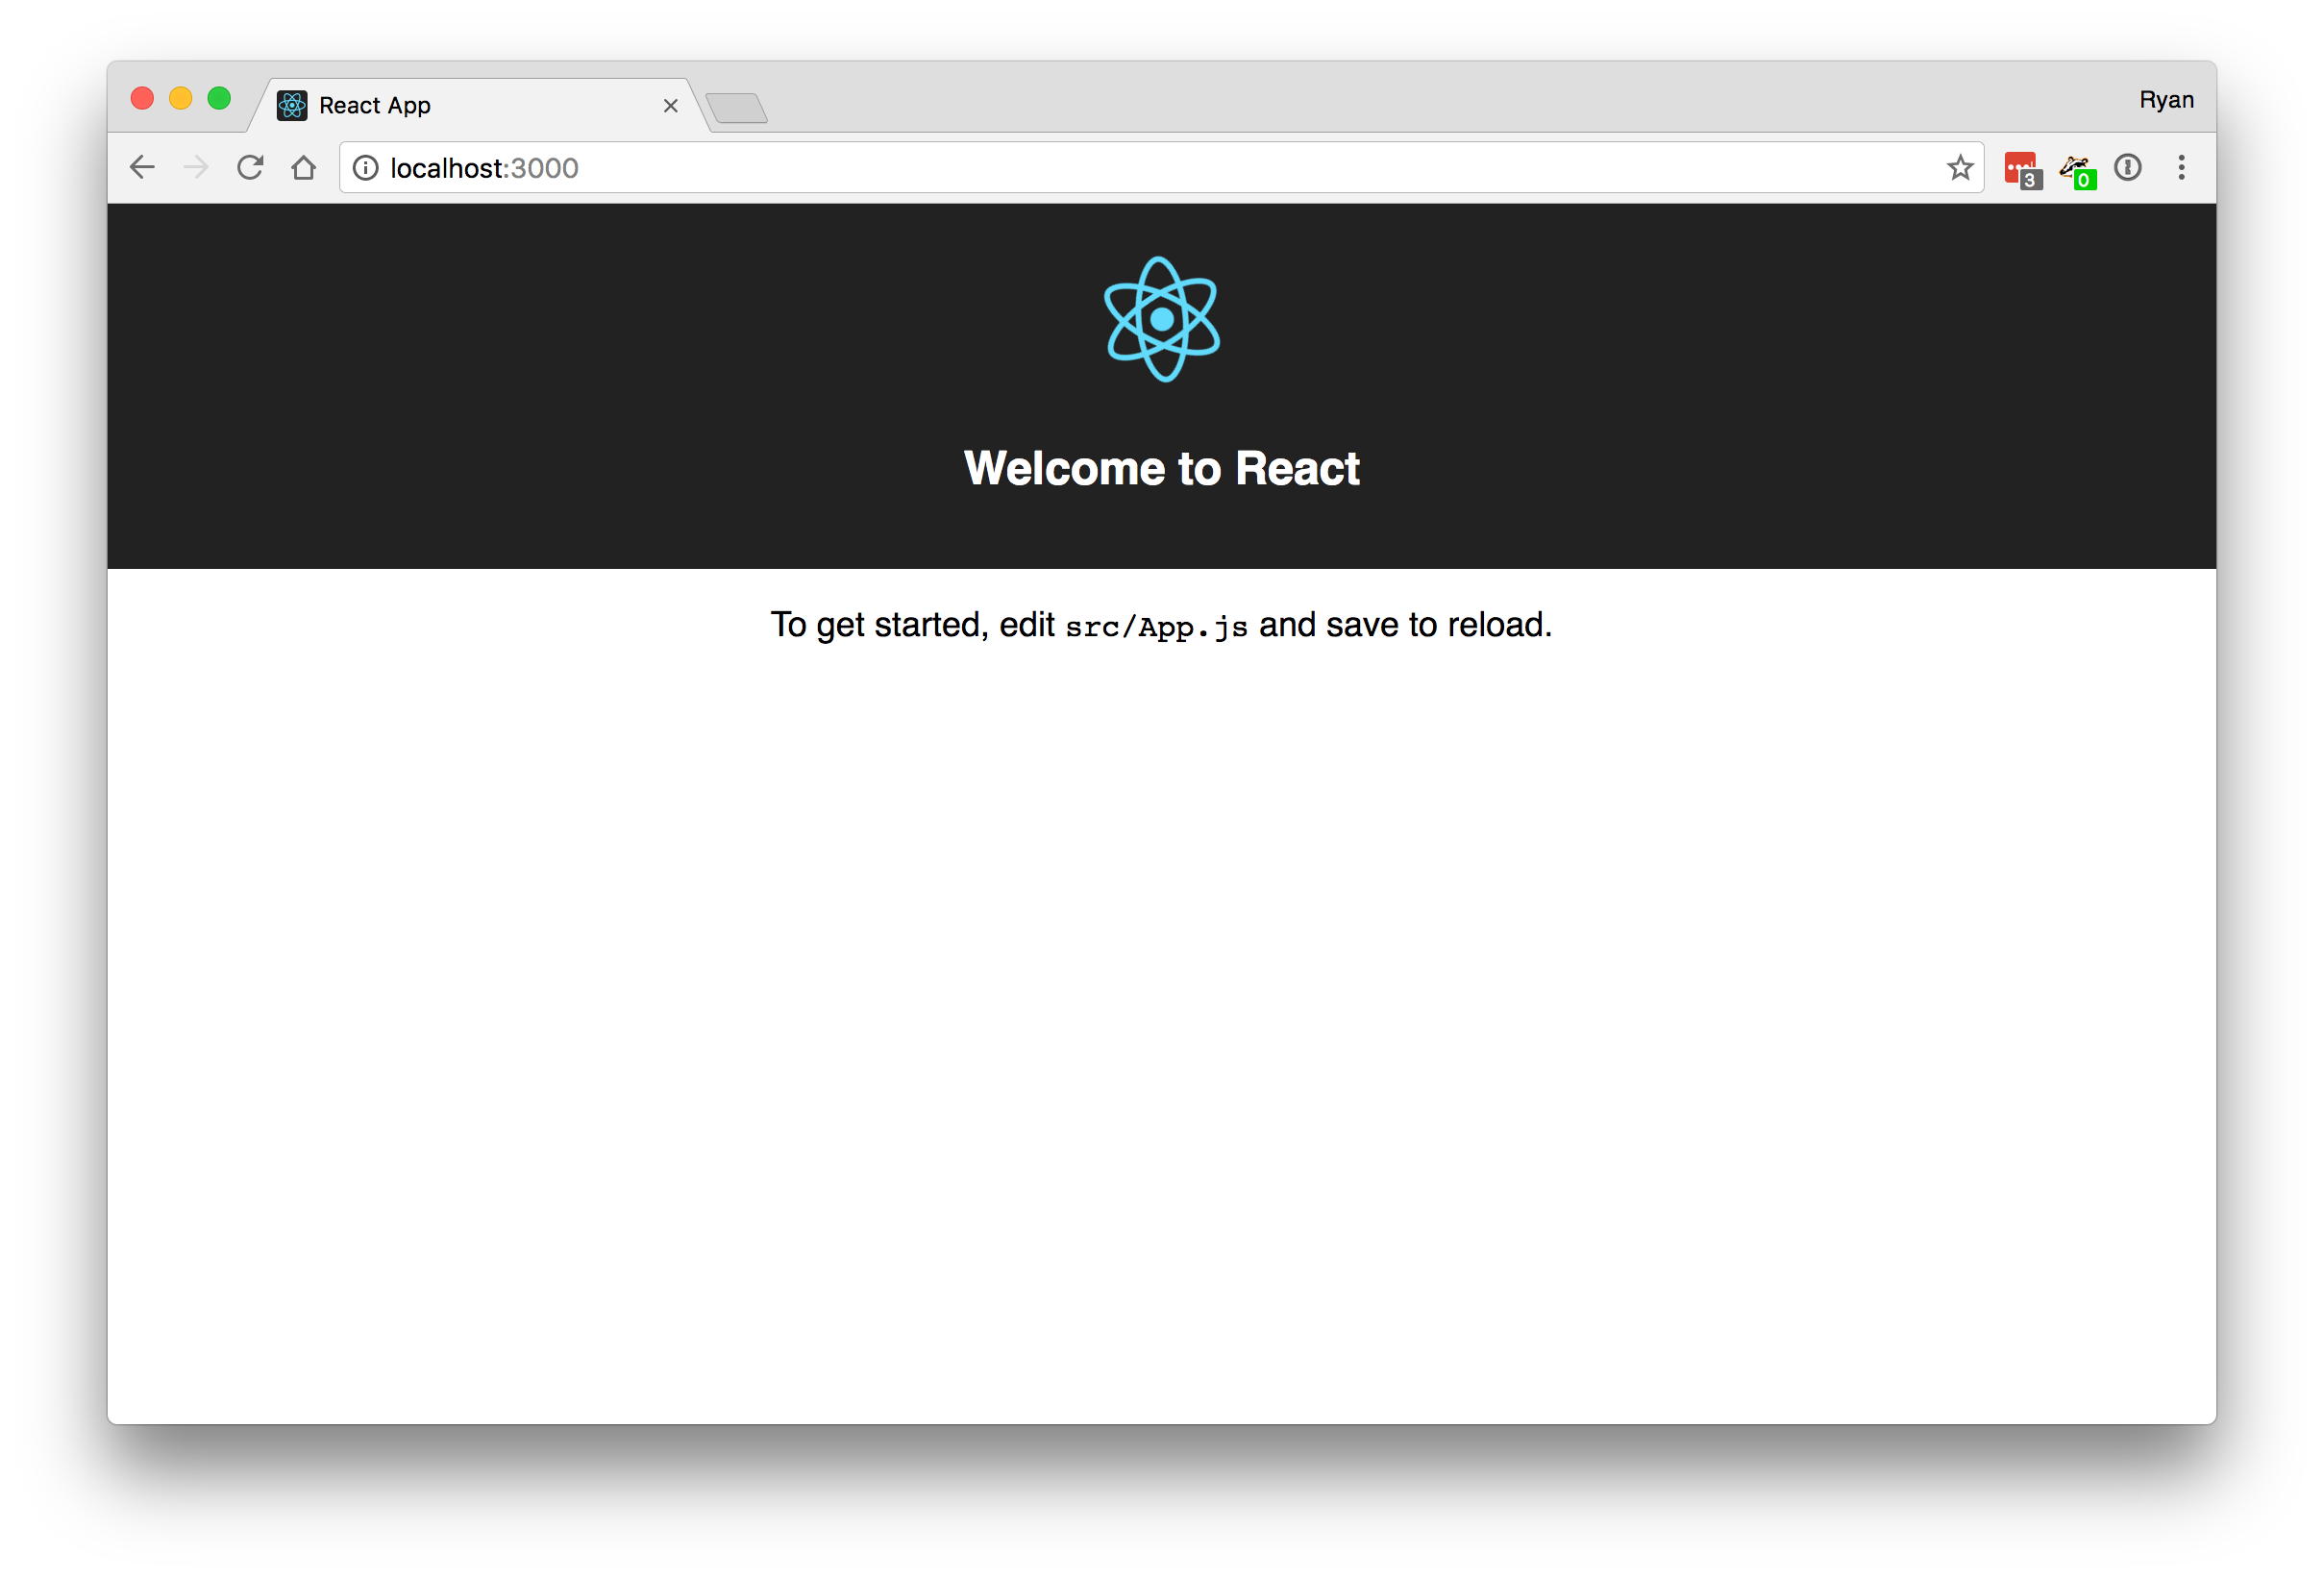
You now have a live development server running in the background and any changes you make to the source files will be reflected there. So, leave that running and open your project folder in your editor of choice.
Add Bootstrap Source Files
To get the Bootstrap files, we are going to install bootstrap from npm. From your project folder, enter the following:
$ npm install bootstrap --save-dev
Now the Bootstrap files will be located in your node_modules folder. Before we can copy over the files, we need to make a directory to store the files in. So, inside your project's root directory, create a new folder called less. Inside that folder, create a folder called bootstrap. This is where we will put our bootstrap source files. Now, copy the contents of node_modules/bootstrap/less/ into less/bootstrap/.
If you will be using Bootstrap's glyphicons, you will also need to copy the contents of node_modules/bootstrap/fonts/ into src/fonts/. If you will NOT be using their glyphicons (e.g. if you are using Font Awesome instead), then go to less/bootstrap/bootstrap.less and comment out the line @import "glyphicons.less";.
Add Dependencies
You will need to have the grunt-cli installed globally, so from your command line enter:
$ npm install -g grunt-cli
You will also need grunt and other libraries install locally into your project, so enter the following from your project folder
npm install --save-dev grunt grunt-contrib-watch grunt-contrib-less less-plugin-autoprefix less-plugin-clean-css
Create main.less
In order to import your bootstrap files, you need to create your own LESS file which will both import the Bootstrap files and also provide a place for you to add your own CSS or LESS styles. You could also create your own LESS files and import them individually into this file, if you would like, but this is the primary file which we will point our LESS compiler to. In the less directory, create a file called main.less and add the following into it:
// less/main.less

// Import Bootstrap Styles Here

@import "bootstrap/bootstrap.less";

// Import your own LESS files here

// Add your own styles here

html {
    height: 100%;
}
body {
    height: 100%;
    margin: 0;
    padding: 0;
    overflow-x: hidden;
}
So, you can see that I imported Bootstrap and also added a little basic CSS to get us started. We are now ready to compile.
Create gruntfile.js
In order to use Grunt, we need to make a task configuration file. In your project's root directory, create a file called gruntfile.js and add the following:
// gruntfile.js

module.exports = function(grunt) {

    grunt.initConfig({
        pkg: grunt.file.readJSON('package.json'),

        less: {
            development: {
                files: {
                    'src/css/main.css': 'less/main.less'
                },
                options: {
                    plugins: [
                        new (require('less-plugin-autoprefix'))({browsers: ['last 2 versions']}),
                        new (require('less-plugin-clean-css'))()
                    ]
                }
            }
        },

        watch: {
            less: {
                files: ['less/**'],
                tasks: ['less']
            }
        }

    });

// 3. Where we tell Grunt we plan to use this plug-in.

    grunt.loadNpmTasks('grunt-contrib-less');
    grunt.loadNpmTasks('grunt-contrib-watch');

// 4. Where we tell Grunt what to do when we type 'grunt' into the terminal.

    grunt.registerTask('default', ['less']);
    grunt.registerTask('compile-less', ['less']);

};
If you look at what we just entered, you will see that we configured it to take less/main.less and compile it into src/css/main.css. We configured two tasks which can be run. default runs the less compiler, but to be more explicit I made a compile-less task which compiles as well. One task which we get without explicitly defining it is the watch task, which we configured to watch all files in the less folder and run the less task on any change. From our command line inside of our project folder we can now enter grunt compile-less to compile our LESS files one time, or we can enter grunt watch to watch the source files and compile on any changes.
Add NPM Scripts
I prefer to keep all my build scripts in my package.json file. I don't want to run some scripts using npm run [script] and others with grunt [task]. So, I am going to put my LESS watch and compile script into our package.json file. Add a compile-less and a watch-less script into your package.json file under scripts so that your file now looks something like this:
{
  "name": "react-bootstrap-example",
  "version": "0.1.0",
  "private": true,
  "devDependencies": {
    "bootstrap": "^3.3.7",
    "grunt": "^1.0.1",
    "grunt-contrib-less": "^1.4.0",
    "grunt-contrib-watch": "^1.0.0",
    "less-plugin-autoprefix": "^1.5.1",
    "less-plugin-clean-css": "^1.5.1",
    "react-scripts": "0.8.4"
  },
  "dependencies": {
    "react": "^15.4.2",
    "react-dom": "^15.4.2"
  },
  "scripts": {
    "start": "react-scripts start",
    "build": "react-scripts build",
    "test": "react-scripts test --env=jsdom",
    "eject": "react-scripts eject",
    "compile-less": "grunt compile-less",
    "watch-less": "grunt watch"
  }
}
Now, to compile your less files you can enter:
$ npm run compile-less
If you want to watch your files for changes, you can enter:
$ npm run watch-less
Add main.css To Your React App
Now that you have your compiled styles file, open src/components/index.js and add the following import statement:
import './css/main.css';
create-react-app handles the bundling for you, and included is a plugin for handling css imports. That is why you can add an import directly into a JavaScript file here rather than adding it into index.html directly.
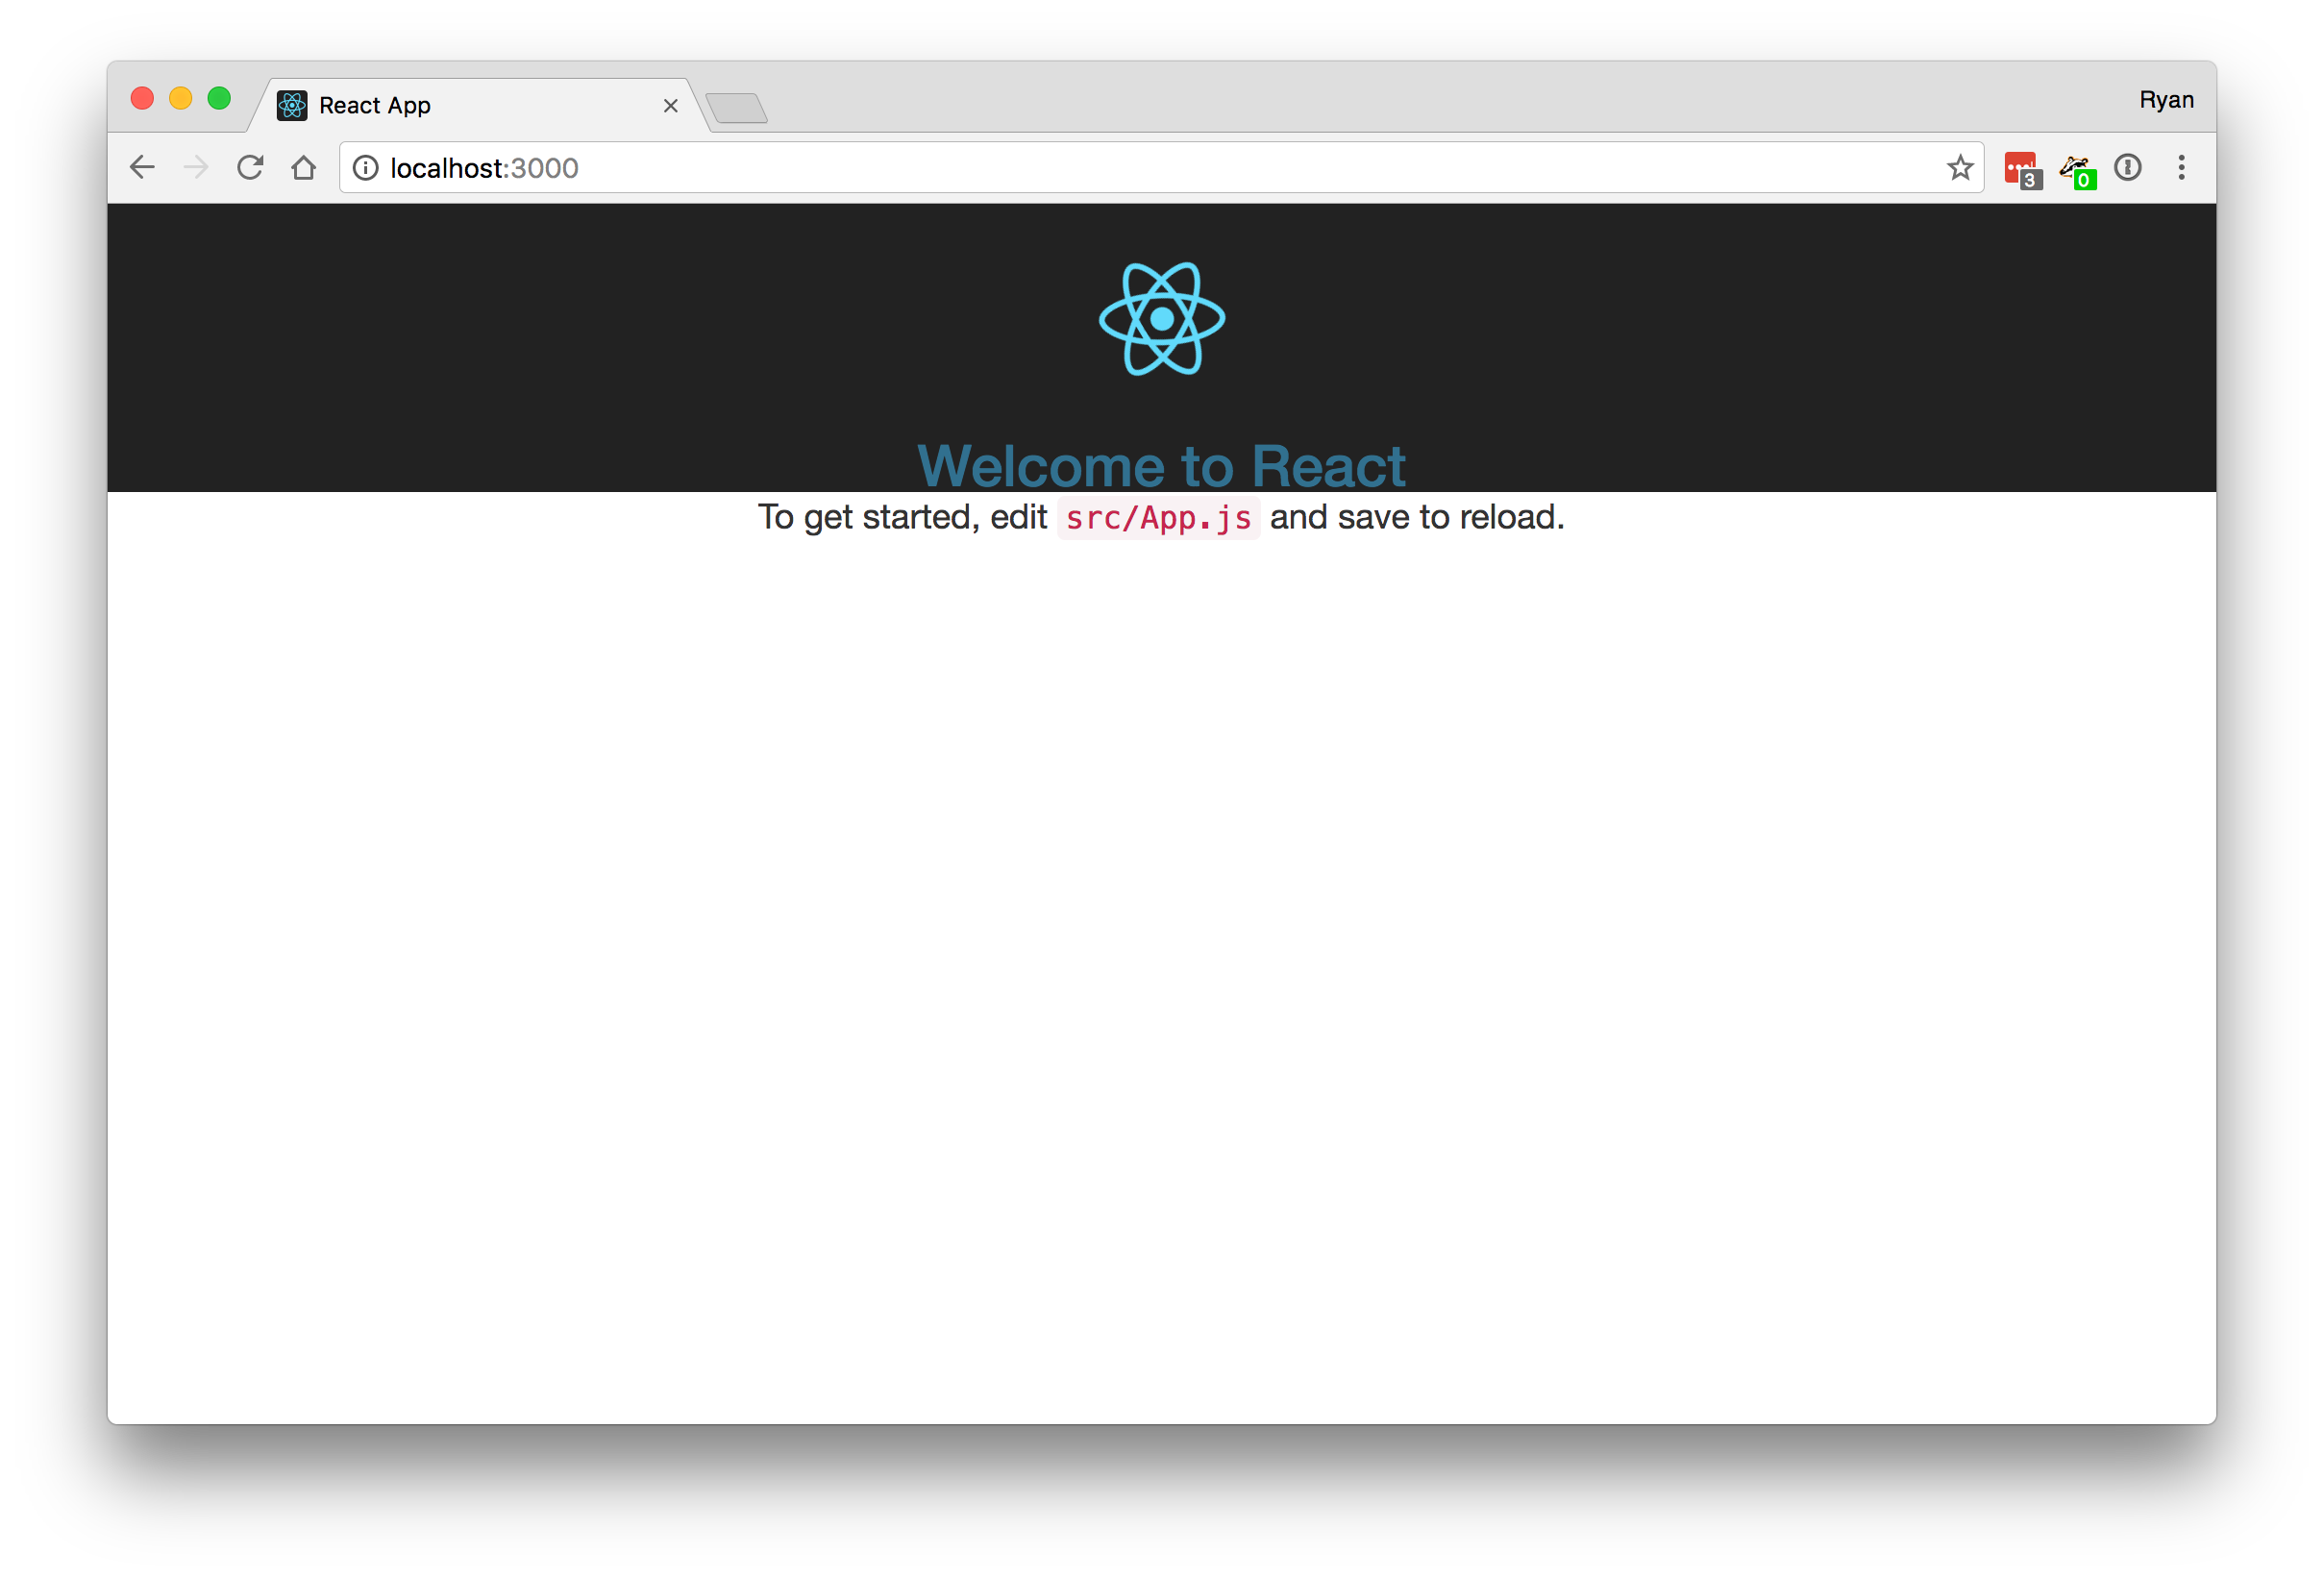
Now your bootstrap styling classes are available to your entire application! To read the documentation, go to BootstrapDocs. There you will easily find how to style anything from forms to buttons to tables plus they offer many components which can be built using their styling classes. To see Bootstrap in action, open src/app.js and add className="text-info" to the <h2> tag and save the file. When you go back to your web browser, you will see that the text of the header is now blue because the Bootstrap helper class text-info changes the color of text in an element to a light-blue color.
Customize Bootstrap
Once you have built your application using Bootstrap, you can at the end go through and edit the source files so that 1) you only import the Bootstrap components which you are using and 2) make sure all the components look exactly the way you want them to.
To reduce the size of your main.css file, edit less/bootstrap/bootstrap.less and comment-out any components which you are not using. Be sure and compile the LESS so that your changes are reflected in main.css and so you can check your web browser to make sure you have not accidentally removed something important.
To change colors, sizes, fonts, etc. go to less/bootstrap/variables.less and make your changes there. To change any particular components, open their corresponding less file. For example, if I wanted to change how forms look I would open less/bootstrap/forms.less and change the source from there.
Any time I change the Bootstrap source, I always comment out the original line and add my own beneath it. That way, if I can always reference its original value if I need to.
Conclusion
It really is mind-blowing how easy it is to get web applications up and running these days. With create-react-app, Bootstrap, and a few tweaks, you can be up and running in only a few minutes.
The source code for this project is available on GitHub.